Windows Server Backup to multiple disks
After a mammoth task of going through various customers backups I’ve concluded that the Windows Server Backup included in Windows Server 2008 onwards is actually pretty good. Ok so it’s a little limited in features but if you’re looking for a complete backup of your server then this tends to be one of the more reliable.
I’ve recently installed and migrated to a new Small Business Server 2011 Server and so recommended that they purchase some simple USB Disks (Mon-Fri) to backup to on a daily basis and take one offsite each night.
Normally if you want to do this through the GUI or Wizard, you’ll add the Disk1, fine, then you’ll have to attach Disk2 while Disk1 is still attached. Once that’s added you can then remove Disk1, and add Disk3 while Disk2 is still attached and so on until they have all been added.
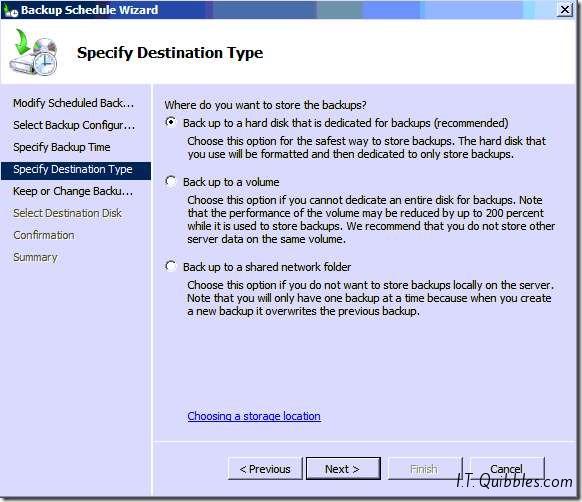
I’ll go through the Wizard now to add an additional disk to the backup disk pool:
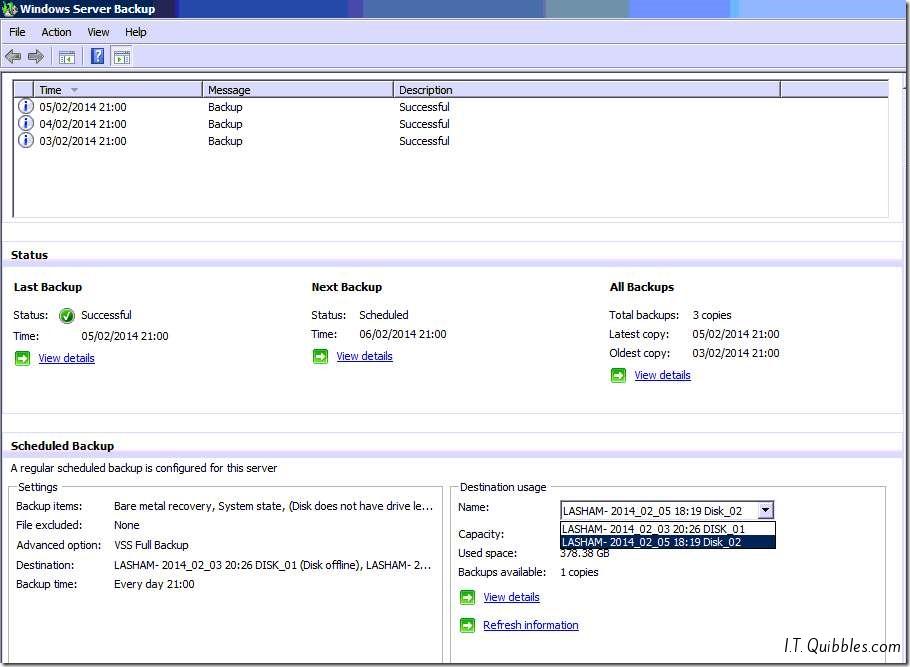
As you can see I have two disks (in this example) in the backup disk pool
In the ‘Actions’ menu on the right, click Backup Schedule which will start the Wizard
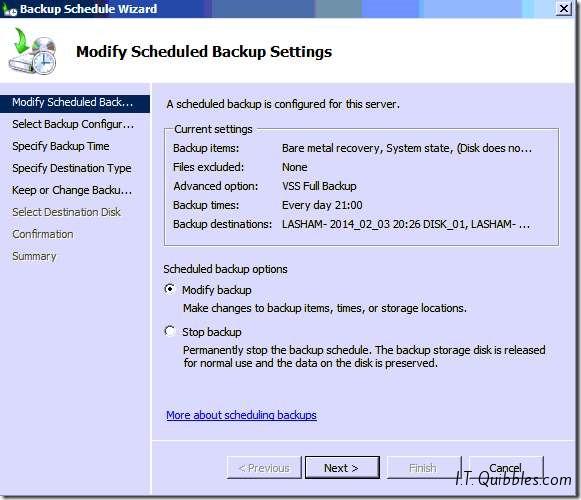
I’m modifying the backup so this is fine, Next
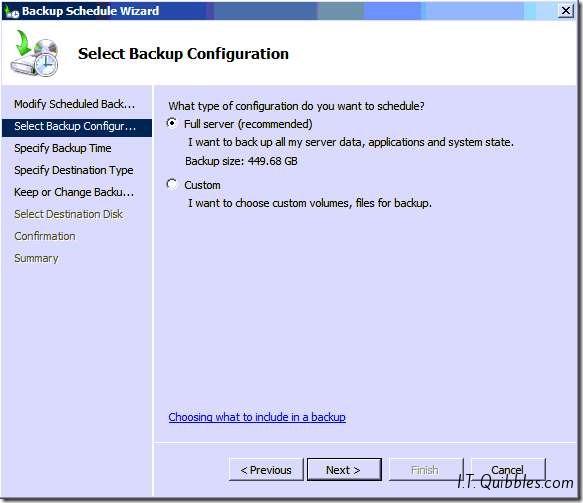
I’m doing a full backup so yup, that’s ok, Next
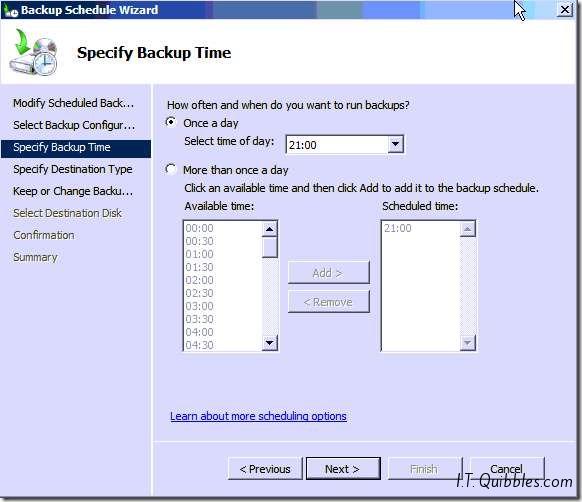
I’m not changing the schedule so, Next
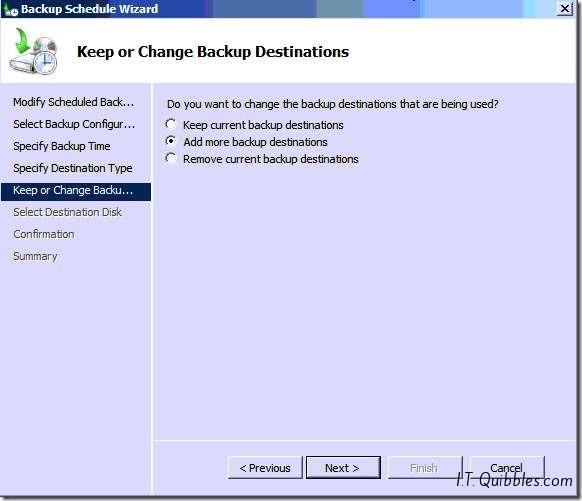
Ok, here we go, here you choose “Add more Backup destinations”, Next
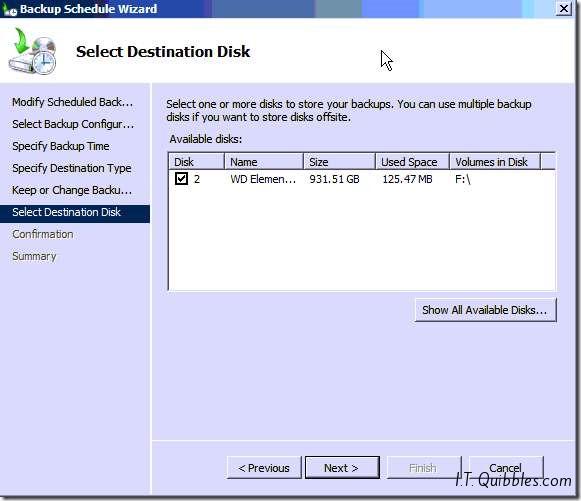
On this page you’ll see the disks which are attached. As per above you should have the previous drive still attached (so this wizard will complete successfully) so you might see two in this list. Tick the one you want to add and click… you guessed it, Next
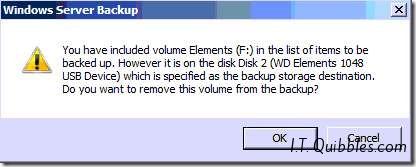
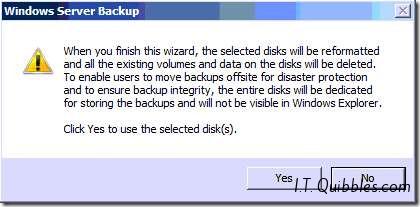
You’ll receive these messages explaining that the drive is going to be formatted and then won’t be visible in Windows Explorer. This is normal and so long as you don’t have any data on the drive which you want to keep, click Ok and then Yes.
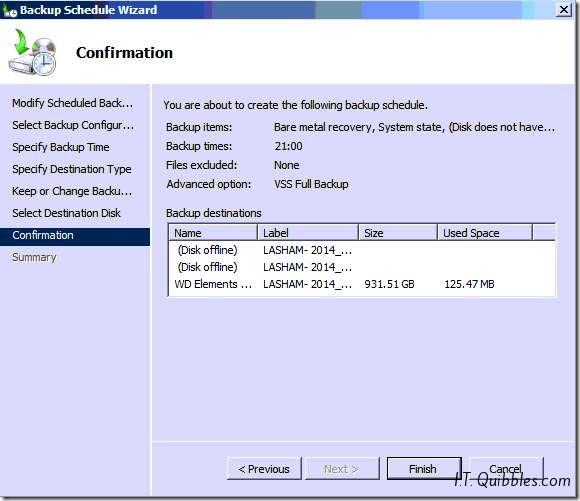
Just a quick confirmation, check all the settings and drives here. You can see the two I already have in the destination pool and the one I’m adding. If you’re happy click Finish
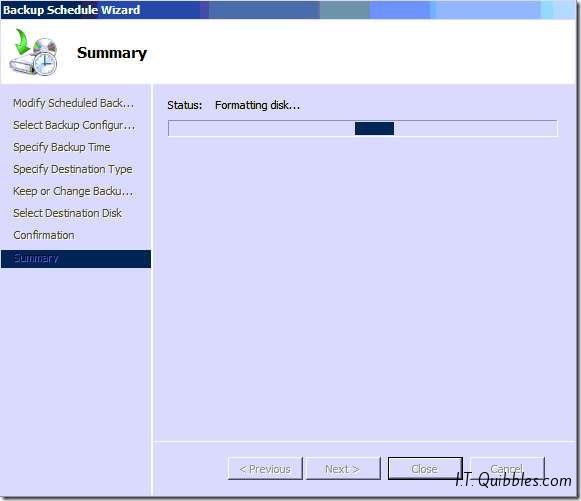
It’ll start formatting and then everything should complete as usual, well done you’ve added a new disk which can be used to backup onto.
WWAAAIIIITTT……theres more…
Now, on this occasion for whatever reason I didn’t get all the disks added during my visit, and I needed to include another one into the backup but wasn’t onsite and to top things off the previous disk wasn’t available, if you’re in this position then you’ll get this nice error:
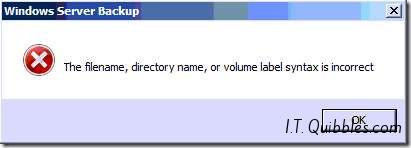
The filename, directory name, or volume label syntax is incorrect
I’ll tell you how to get around this,
Add a disk independently here.
If you have an EFI System Partition or receive the error: Error – The selected disk cannot be selected as a backup location because it contains OEM, unknown or other special partition(s). – Click here for the solution
However if everything went ok using the Wizard you should not see 3 Disks:
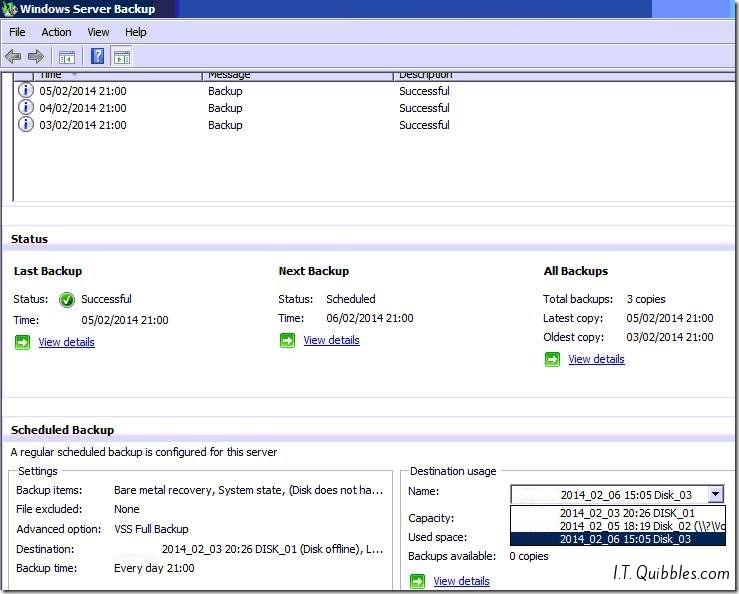
Add a disk independently here.
Hope this gets you out of a sticky Quibble.

Leave a Reply